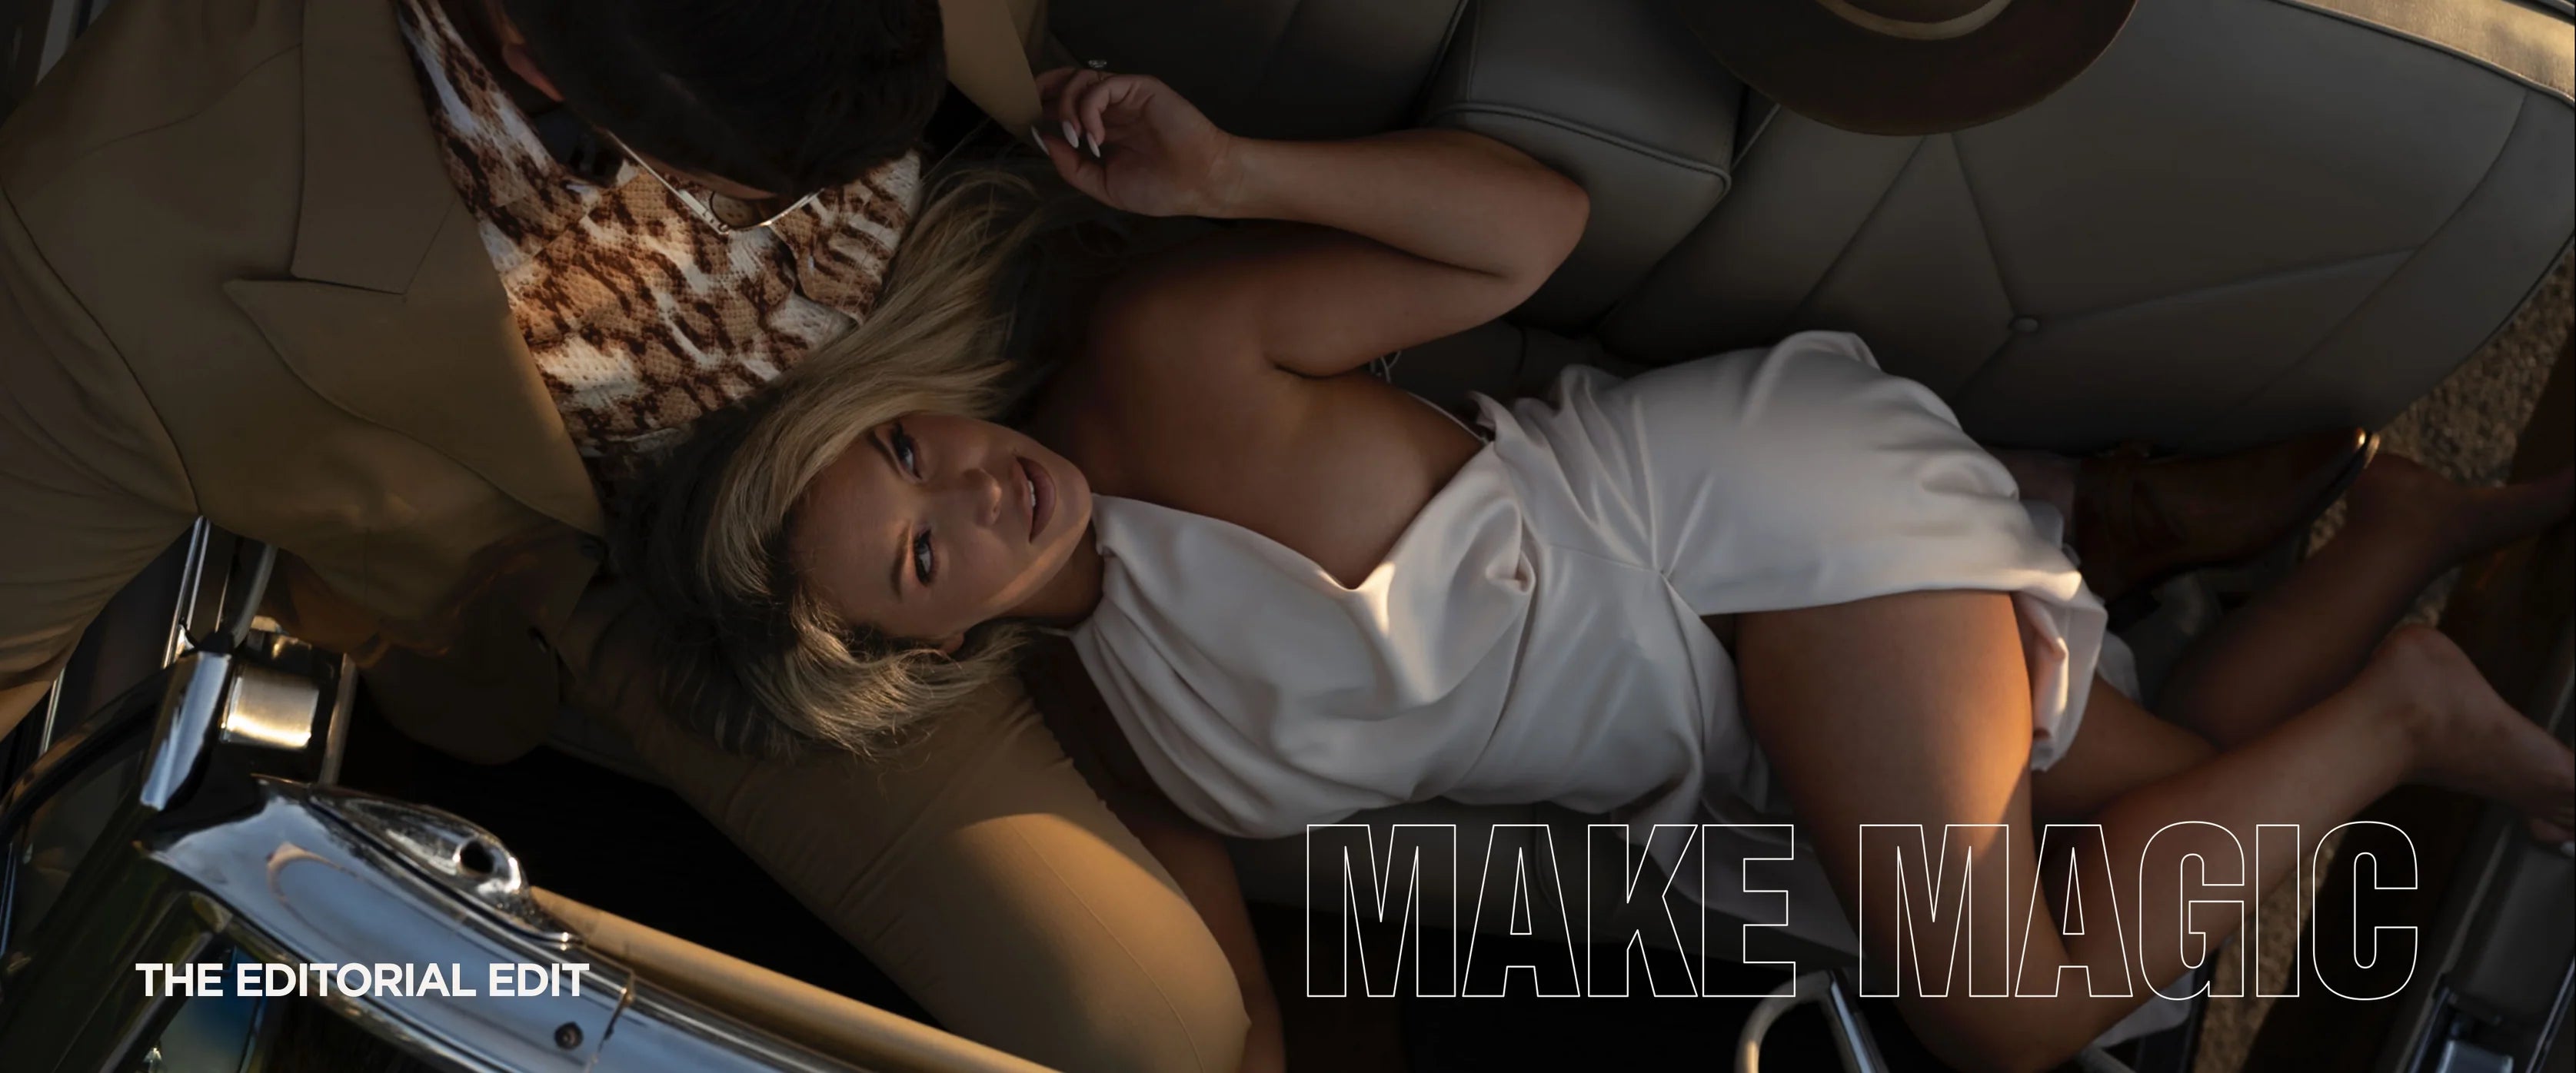
Resources
Please see below for answers to common questions from customers
How do I install my new Tee presets?
After processing your order, you will receive an email with a direct download link. Once you have downloaded your new presets, open LR. Navigate to the Develop module and then to the preset panel on the left hand side of the screen. In the upper right hand corner of the Preset Panel, there will be a "+". Click this "+" and select "import presets". From here you will need to navigate to your download folder and select the compressed zip file that arrived with your download. (Do not uncompress this zip file). Once you have this zip file selected, you can click "import". Thats it! Your new TEE Presets should be fully installed and organized. The associated profiles should also have been deposited in their proper locations as well. Please reach out to us if you run into any issues, and be sure to visit our resource page for a quick video tutorial on installation.
Do these Presets work on both Mac and windows?
Yes they absolutely do! They are compatible with Lightroom Classic 7.3 macOS/Windows. Lightroom 1.3 macOS/Windows. Please be double sure to check your system and software to ensure compatibility, and contact us with any questions. (We are unable to provide any refunds for digital products.)
Do these Presets work with AI editing services?
Absolutely. Emphatically. Unquestionably, yes.
At The Editorial Edit, our color profiles are meticulously engineered to integrate seamlessly with AI-driven editing platforms, embodying our core values of refinement over transformation and scientific precision. Our commitment to enhancing natural beauty with scientifically sound tools ensures that our presets uphold the integrity of your images while leveraging advanced technology.
The Science Behind Our Profiles
Our presets are built upon advanced transdimensional color mapping, a technique that ensures flawless results across various AI editing software. This method involves complex algorithms that analyze and adjust color spectrums to maintain consistency and accuracy, regardless of the platform used.
AI Integration and Compatibility
We have conducted extensive testing with platforms like ImagenAI, utilizing strict daylight-balanced foundations and intelligent normalization processes. These ensure that AI reference models interpret our profiles accurately, facilitating effortless integration of your reference galleries and AI training profiles. Many users report minimal to no need for retraining, highlighting the efficiency of our system.
Understanding AI Color Correction
AI-based image color correction utilizes machine learning algorithms to automatically adjust and enhance the colors of digital images. These algorithms analyze vast amounts of data to understand the characteristics that make an image visually appealing, applying this knowledge to achieve vibrant and accurate colors. This process saves time and effort, allowing for efficient and consistent editing across large batches of images.
Commitment to Excellence
Our dedication to scientific precision and editorial excellence ensures that our tools not only meet but exceed the demands of modern photographers. By embracing the latest advancements in AI and color science, we provide solutions that are both innovative and grounded in a deep understanding of photographic principles.
In Summary
The Editorial Edit is designed for the future of photography, where refinement over transformation is paramount. Our scientifically engineered color profiles ensure seamless integration with AI platforms, preserving the natural beauty of your images while enhancing them with precision and accuracy.
TL;DR: We play very nicely with our algorithmic overlords. 😉
Does the Editorial edit offer a pre-tuned AI editing profile?
Soon. We’ve been deep in development with ImagenAI, crafting a suite of bespoke AI editing profiles that seamlessly integrate The Editorial Edit’s signature color science, tonal refinement, and editorial depth into an AI-powered workflow.
These profiles will reflect the same meticulous grading philosophies that define our collections—whether it’s the effortless polish of Prêt-à-Porter, the precision-driven mastery of Couture, the bold intensity of direct flash, or the cinematic warmth of 35mm-inspired tones. While the final names and exact configurations are still evolving, the core DNA remains unmistakable: refined, intentional, and built for photographers who demand excellence.
In the meantime, our existing preset packs already play exceptionally well with ImagenAI and other AI editing platforms. Thanks to their strict daylight-balanced foundations, intelligent normalization, and transdimensional color profiling, AI-driven editing software can interpret and integrate them seamlessly. Many users report that ImagenAI learns their tEE-based edits with little to no need for additional training—allowing them to achieve consistent, editorial-quality results at scale.
Once launched, our AI profiles will be available for one-time purchase within the ImagenAI ecosystem, giving you full control to integrate them into your workflow—no subscriptions, no ongoing fees, just AI-powered refinement, on your terms.
Stay tuned. The future of AI-driven editorial editing is nearly here. 🚀
What is a Profile-Based preset?
Great question! To begin, a preset is a saved set of adjustments and settings in photo editing software like Adobe Lightroom Classic, Lightroom, or Adobe Camera Raw. Think of it as a recipe you apply to your photos each time you select it.
Now, let's delve into "Profile." This can get a bit more intricate. A profile can function similarly to a preset, or it might involve a highly complex and layered color profile that makes significant changes, as is the case with #tEE. When using The Editorial Edit Presets, selecting a preset instructs Lightroom to apply the unique profile associated with it. This process enables quicker profile selection and generally keeps most standard adjustment sliders at their default settings, giving photographers more flexibility in their final edits. It also allows you to layer our intensity-enabled tools on top of a profile without causing excessive alterations. TL;DR: It’s a kind of editing magic that, if installed correctly and used as intended, produces results similar to standard presets while minimizing adjustments to your visible sliders.
Where can I try out the presets?
Click on "Try" on the navigation bar at the top of the site and follow the onscreen directions. It’s that easy. Just send us RAW images through our magic uploader, answer a few questions and let us know if there's a particular pack you're interested in.
What editing programs do these presets work with?
Currently, The Editorial Edit Presets are compatible with:
- **Lightroom Classic®:** Version 7.4 or later
- **Adobe Photoshop/Camera Raw (ACR):** Version 10.3 or later
- **Lightroom CC for Mobile (in beta):** Available for both iOS and Android devices
We’re also working on LUTs for cinematographers and Capture One Styles for commercial and fashion photographers. Be sure to join our mailing list to stay updated on any beta releases or product updates.
Can I use #tEE on my mobile device?
Yes! As long as you have Lightroom CC connected to the cloud and have installed the presets on your desktop version of Lightroom CC, The Editorial Edit presets should sync to your mobile version. You will want to turn on the RAW shooting function on your phone to ensure that the Presets will work. Keep in mind that Lightroom CC is different from Lightroom Classic, so you'll need to upload the presets to both platforms to fully utilize them. (We are working on smoother mobile integration for the future, but we don’t recommend purchasing these presets solely for mobile use as they are not specifically designed for that application.)
What is the return policy?
Returns or requests for refunds are not available. All sales of goods or services on this site are final. Due to the nature of digital products, they cannot be returned or refunded once purchased. It is the purchaser’s responsibility to ensure that The Editorial Edit products meet their needs. We provide test edits, comprehensive before-and-after examples, and the option to request a test edit before purchasing. Feel free to join our private Facebook community to see more work from #tEE users
I use a few different cameras from various manufacturers. Will these presets work across different cameras?
The Editorial Edit presets are your universal passport to stunning, consistent colors—no matter what camera brand or model you’re shooting with. Think of them as the multilingual genius of editing tools: they speak the unique “language” of each camera’s sensor, translating it into the cohesive, editorial look you love. While you might need to fine-tune White Balance or Tint occasionally (kind of like seasoning your favorite dish to taste), these presets are designed to honor the strengths of your camera’s sensor without getting in its way.
Why? Because every camera has its quirks. Different sensors process light and color in unique ways—like chefs with their own signature techniques. A one-size-fits-all approach simply doesn’t work. That’s where The Editorial Edit’s advanced profiles step in. By using cutting-edge technology during the final stages of image processing, they dynamically adapt to your camera’s unique output, delivering a consistent starting point across the board.
In short: The Editorial Edit presets aren’t here to fight your camera’s technology—they’re here to complement it. The result? Flawless edits, every time, no matter what gear you’re rocking. It’s as close to magic as modern editing technology gets.
Are these presets “One Click” presets?
In the world of photo editing, “one-click presets” often promise instant, effortless transformations. But let’s be honest: most of the time, they’re just a strong starting point—because every image is unique, and true artistry doesn’t happen on autopilot. As one photographer put it, “‘One-click’ is just marketing to suggest you’ll save time. But no one should expect to ‘set it and forget it.’”
At #tEE, we embrace a no-nonsense approach. Our Profile-Based Presets are meticulously designed to deliver stunning, editorial-quality results with minimal effort. Many users find that our presets feel like magic straight out of the box—quickly transforming their images into professional-level work. But we also know photography isn’t about shortcuts; it’s about creating something personal, something only you can bring to life.
Think of #tEE presets as the foundation for your creative vision. They’re crafted to complement, not constrain, your style. While they reward thoughtful shooting techniques, they’re also designed to tackle tricky edits and provide consistent results across the board. Whether you need quick enhancements or want a base to refine further, our presets adapt to your workflow, offering the flexibility to create without compromise.
We also encourage our users to explore the full potential of our Profile-Based Presets and advanced tools by creating their own custom "stacks." These stacks can be saved as personalized versions of #tEE presets, resulting in the ultimate one-click solution tailored specifically to your style and workflow. After all, your creative vision isn’t static—it’s dynamic, evolving with every new shoot, idea, and inspiration. With #tEE, you’re not just using presets; you’re building tools that grow with you, empowering your artistry at every step.
I like to shoot in JPEG. Can I use these on JPEGs?
Our most recent update of #tEE presets is specifically optimized for RAW images and does not currently work on JPEGs. If you shoot in JPEG and would like to use #tEE, we can provide you with a variant that allows for the application of these presets to JPEG images—just reach out, and we’ll be happy to assist!
That said, our presets are intentionally designed for RAW files to take full advantage of the broader tonal range, dynamic adjustments, and flexibility that RAW images provide. While JPEGs can still deliver great results, RAW files allow the presets to achieve their fullest potential, giving you the polished, editorial-quality look #tEE is known for.
What pack should I buy first?
Many of our customers start with individual collections like Prêt-à-porter or Couture, but if you're looking for the best value and the most comprehensive editing experience, the Master Collection is the clear choice.
Here’s the Value Breakdown: The Prêt-à-porter Pack is $225, the Couture Pack is $225, and the Monochromatique Pack is $145. Buying all three separately totals $595, but the Master Collection bundles them for $495, saving you $100 upfront—that’s a 16.8% discount just for bundling.
It gets even better with your first purchase. Use the code "tEEETIME" at checkout for an additional 10% off, bringing the price down to $445.50. That means you save a total of $149.50, nearly 25% off the individual pack prices. It’s like putting $149.50 back into your pocket to spend on other gear, props, or even a coffee or two while you edit!
The Master Collection gives you the full suite of tools designed to streamline your workflow and elevate your editing. You’ll get the Prêt-à-porter Pack, which includes 8 stunning profiles and a bonus "Soiree" pack; the Couture Pack, with 8 distinctive profiles and the "Fête" bonus pack for direct flash and Fauxgla edits; and the Monochromatique Pack, offering 6 versatile black-and-white profiles with advanced tools for nuanced adjustments.
By investing in the Master Collection, you’re setting yourself up for long-term creative success while saving money. With nearly 25% off and a savings of $149.50, this is the best deal we offer. Don’t wait—take advantage of this bundle, use the code "tEEETIME" at checkout, and start creating your masterpiece today!
Do you offer any financing?
Yes, at checkout, you can choose to pay in four equal installments or over an extended period, depending on what works best for you. These options are available during checkout—simply select the one that suits your needs and follow the prompts.
Please note, our payment solutions are offered by third-party vendors who are seamlessly integrated into our checkout process. As such, any questions or concerns about the payment plans should be directed to the respective provider, as we do not manage these services directly.
Does it take a long time to edit an image with a #tEE preset?
The Editorial Edit presets are designed to be incredibly easy and fast to use. Thanks to their highly adjustable profiles and tools, refining your look is a breeze. Whether you're going for a polished, editorial aesthetic or experimenting with your creative vision, our presets make it simple to achieve professional results with minimal effort.
Our process of normalization ensures your images look their best before applying #tEE presets. This involves balancing your white balance and tint with the main white point of the image in mind, along with achieving proper skin tones for your subject. A helpful tip: changing your Lightroom Develop module background screen to white can greatly assist with this step. It provides a constant, neutral reference, making it easier for most brains to identify and balance tones in your photo.
While proper normalization is key to getting the most out of our presets, we also recommend a few additional Lightroom import settings to streamline your workflow. Setting your camera profile to "Adobe Standard" provides a consistent starting point for edits, and enabling Smart Previews can significantly improve editing speed and performance, especially for larger catalogs.
For those who want to go the extra mile, consider converting your RAW files to DNG during import. While not essential, DNGs can optimize Lightroom’s performance and ensure better cross-platform compatibility, making your workflow even smoother.
With these simple steps, #tEE presets will not only save you time but also give you the tools to effortlessly create a look that's uniquely yours.
How to Export Images from Lightroom as Lossy DNG Files
Here’s a simple guide to help you export RAW images as Lossy DNG files while preserving most of the image data. This will reduce the file size by about 30–40%, making them easier to upload.
1 Select Your Images
◦ Open Lightroom Classic.
◦ In the Library or Develop module, select the images you want to export.
2 Start the Export Process
◦ Click on File in the top menu.
◦ Select Export... from the dropdown menu.
3 Choose Export Settings
◦ In the Export dialog box, find the section labeled File Settings.
4 Set File Format to DNG
◦ Under File Format, select DNG.
5 Enable Lossy Compression
◦ Check the box for Use Lossy Compression.
◦ This option reduces file size while maintaining most of the image quality.
6 Adjust Compatibility
◦ For Compatibility, select Camera Raw 11.2 and later to ensure the DNG works with most modern software.
7 Keep Metadata and Preview Settings
◦ Keep Embed Fast Load Data checked for faster loading times.
◦ Leave Embed Original RAW File unchecked to avoid unnecessarily large files.
8 Choose Export Location
◦ Under Export Location, select a folder on your computer where you want to save the lossy DNG files.
◦ Optional: Check the box to Put in Subfolder and name it something like “Lossy DNG Files” to keep them organized.
9 Export the Files
◦ Click Export at the bottom-right corner of the dialog box.
◦ Lightroom will process and save the smaller, lossy DNG files in your selected folder.
10 Check the File Sizes
◦ Once the export is complete, locate the files and confirm they are now smaller than 100MB.
If you have any issues or questions during this process, feel free to email us at info@theeditorialedit.com for assistance!